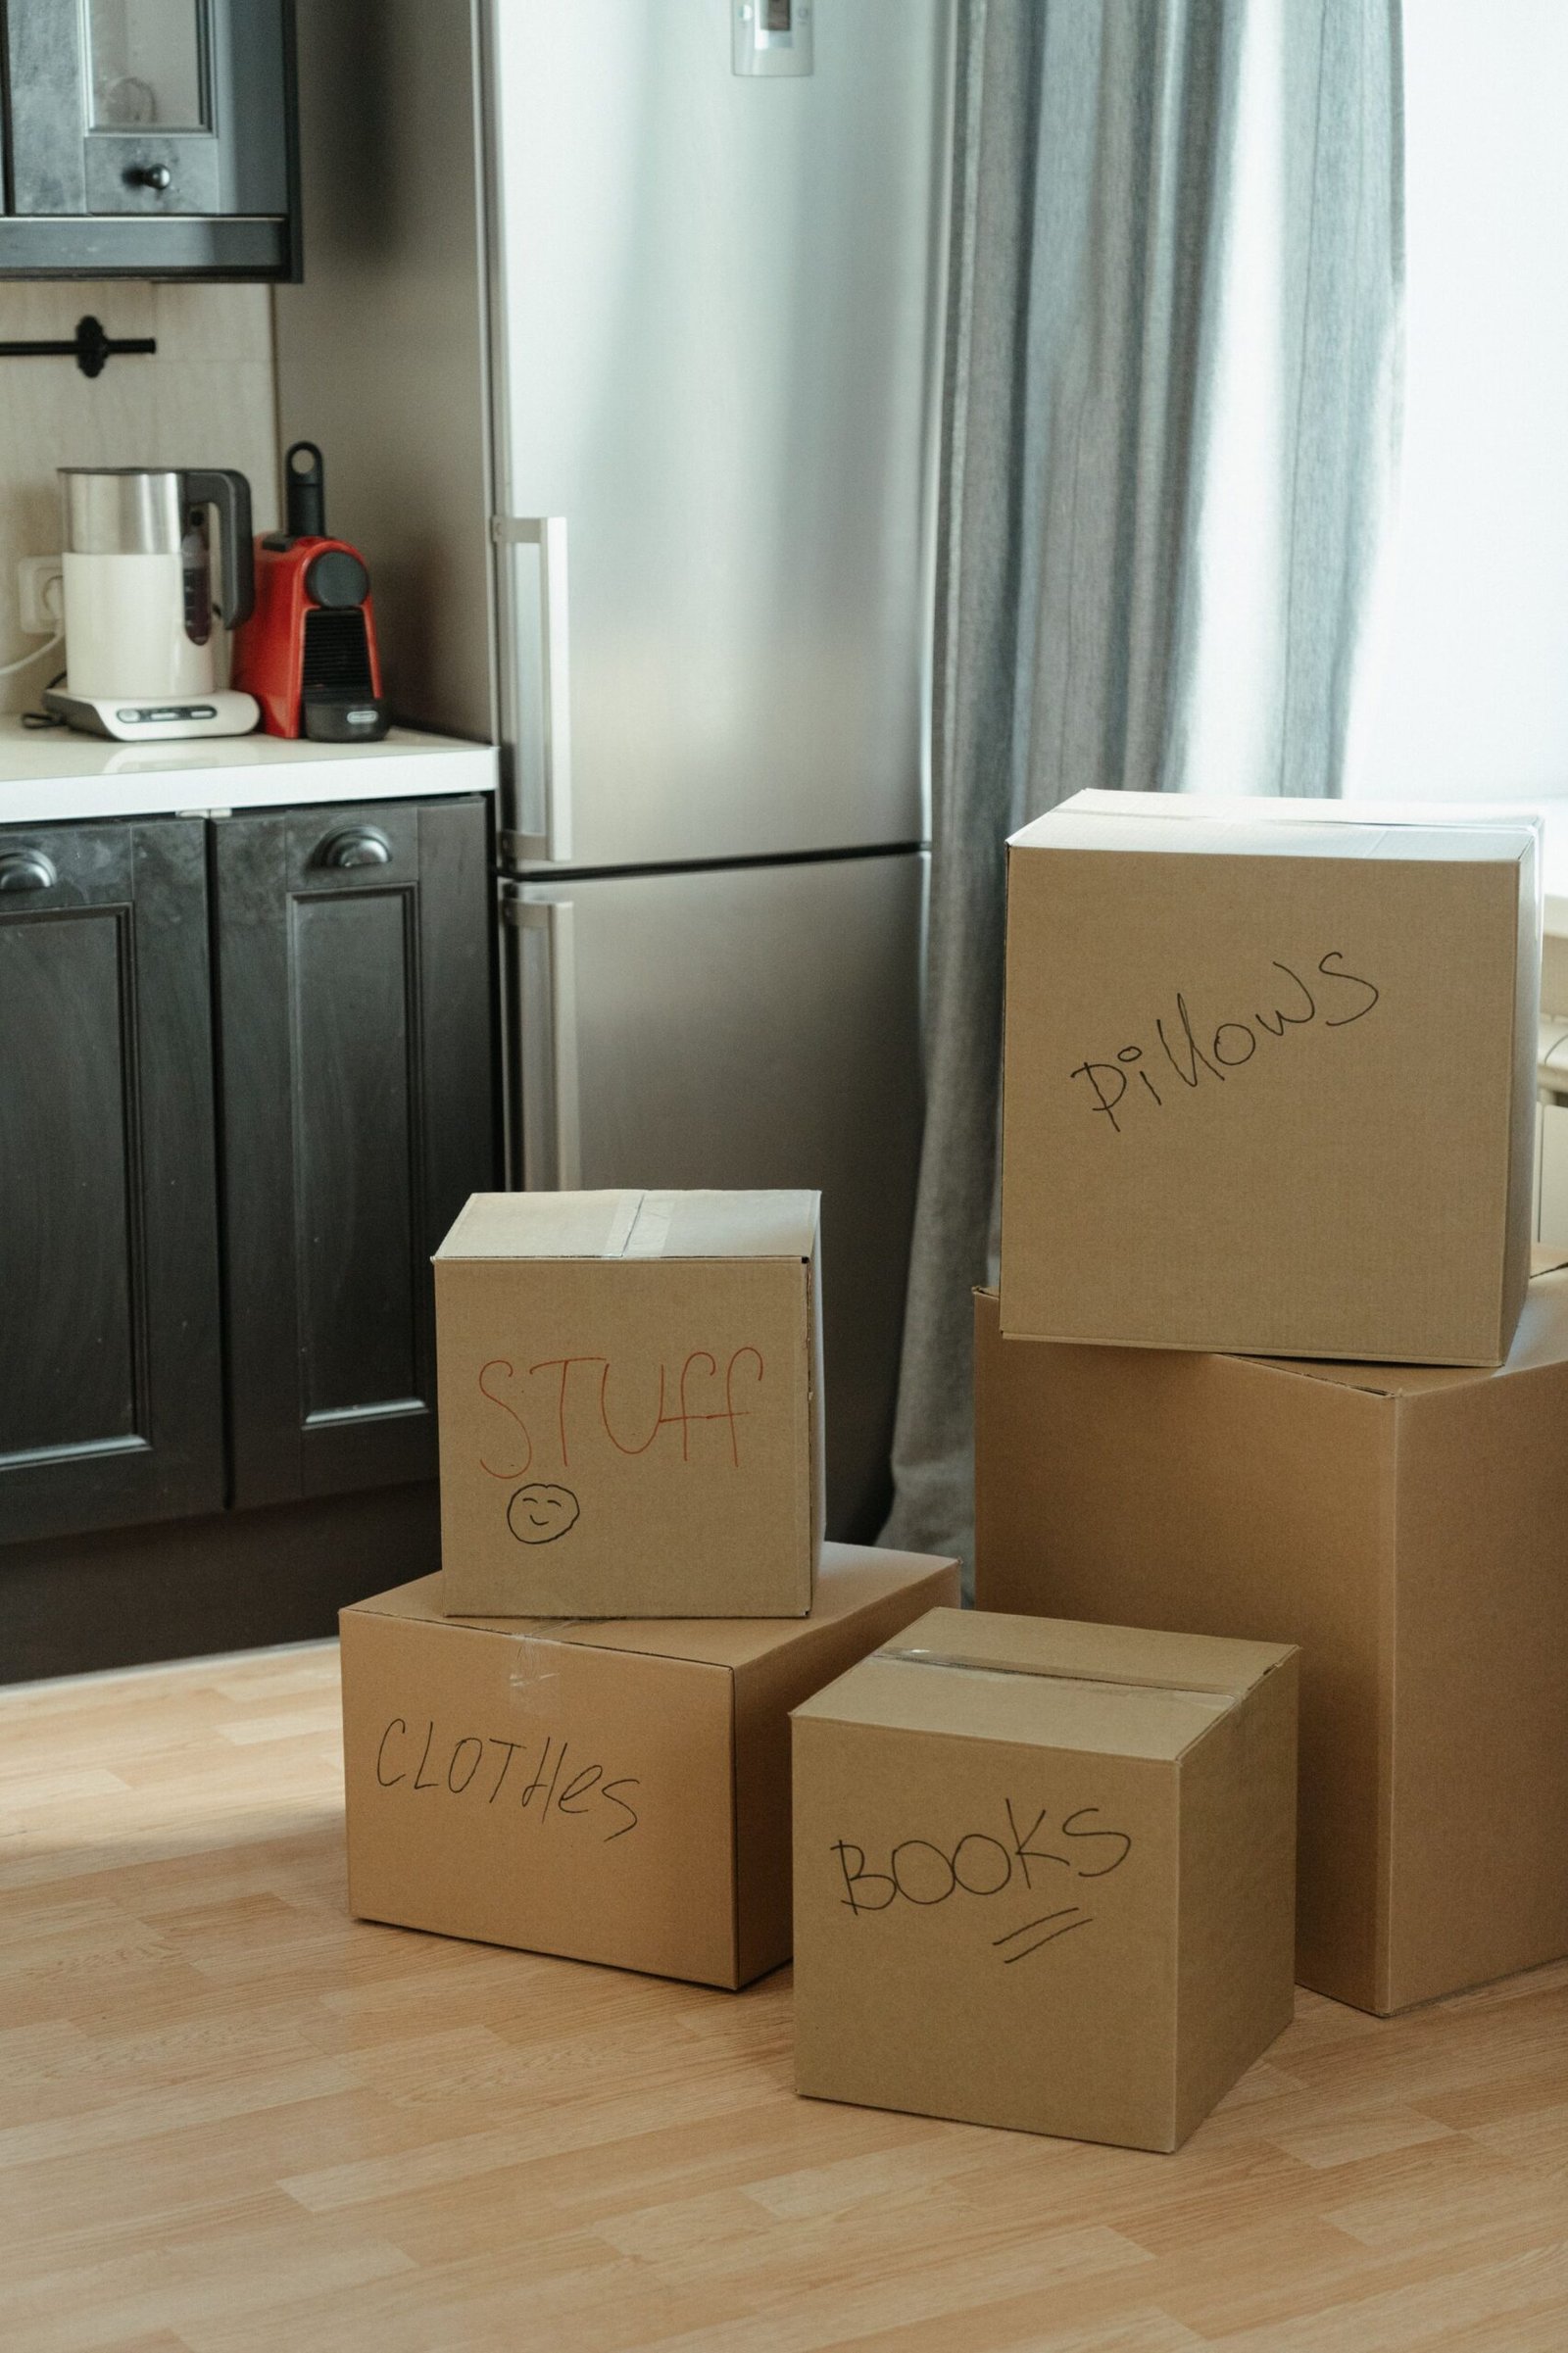
Move-in day always feels like it should be simple — get the keys, bring in the boxes, done. In practice, the first week in a new rental is when the small stuff piles up: nobody remembers to check the smoke detector until it beeps at 2am, or realizes there’s no shower curtain until they’re standing in the bathroom with a towel.
This checklist is organized the way moving actually happens — day one essentials first, then room by room, then the paperwork that’s easy to forget once you’re settled in.
Before You Even Unpack: Day One Priorities
These aren’t about comfort yet — they’re about making sure the property is safe and documented before your stuff makes that harder to check.
- Photograph everything, room by room, before moving furniture in. This is your evidence for the condition report and for getting your bond back later. Include close-ups of any existing damage, marks, or wear.
- Test smoke detectors and carbon monoxide detectors. Don’t assume they work — press the test button on each one.
- Locate the fuse box, water shut-off valve, and gas shut-off (if applicable). You want to know this before an emergency, not during one.
- Check that all the locks the agent mentioned actually work — front door, windows, any security screens.
- Note down existing utility meter readings (electricity, water, gas) if you’re responsible for setting up accounts — this avoids disputes about usage from before you moved in.

Bedroom
- Set up the bed first, even before anything else — you’ll want it functional by the time you’re too tired to keep unpacking
- Check that windows open, close, and lock properly
- Test any built-in wardrobe lighting or power points
- Confirm blackout curtains or blinds are in place if the room faces early morning light or streetlights
Bathroom
- Check water pressure and how long it takes for hot water to reach the tap
- Look for any signs of mould around the shower or window frames — photograph now if present, so it’s documented as pre-existing
- Test the exhaust fan (poor bathroom ventilation is a common source of later disputes over mould)
- Confirm the toilet flushes properly and there are no leaks around its base
Kitchen
- Test all supplied appliances — oven, stovetop, dishwasher, and rangehood — before you’re relying on them for dinner
- Check under the sink for any signs of leaks
- Confirm the fridge is cooling properly within the first few hours (give it time to stabilize after transport if it was recently moved)
- Note existing scratches or marks on countertops and cabinet doors
Living Areas
- Check all power points and light switches work
- Test any ceiling fans or air conditioning units supplied with the property
- Confirm internet and phone line access points are where you expect them, especially if you’re setting up your own connection
Laundry
- Test the washing machine on a short cycle before your first full load, checking for leaks
- Confirm the dryer vents properly, if there is one
- Check that taps aren’t dripping
Paperwork and Admin (Easy to Forget in the First Week)
- Complete and submit your condition report within the timeframe stated in your lease — this is usually the single most important document for protecting your bond
- Set up utility accounts (electricity, gas, internet) if they’re not included, and confirm the start date matches your move-in
- Update your address with your bank, workplace, and any subscriptions or deliveries
- Register with your state’s tenancy authority resources, if you want a reference for your rights as a tenant — most have a free basic guide for new renters
- Save your landlord or property manager’s contact details somewhere accessible, along with the process for reporting maintenance issues
A Simple Week-One Timeline
Day 1: Photos, safety checks, test all appliances and taps, note existing damage Days 2–3: Unpack essential rooms (bedroom, bathroom, kitchen), set up utilities if needed Days 4–5: Complete and submit the condition report, update your address on key accounts End of week 1: Everything from the checklist above should be checked off — anything you’re waiting on (a repair, a utility connection) should already be reported
The Bottom Line
The first week in a rental sets the tone for the rest of your lease — the small checks you do now (photos, testing appliances, submitting the condition report on time) are what protect your deposit and prevent disputes later. It takes an extra hour or two on move-in day, but it’s the cheapest insurance you’ll get against losing part of your bond over something that was already broken when you arrived.