
Every renter hits the same wall — literally. You want to hang photos, put up a mirror, or finally get that gallery wall you’ve been pinning for months, but the lease says no holes, no nails, no exceptions. And even when it doesn’t say that explicitly, most landlords expect the walls to look untouched at move-out, or your deposit takes the hit.
The good news is that “no drilling” doesn’t mean “no decorating.” Damage-free wall products have come a long way, and used correctly, most of them hold far more weight than people expect. The key is knowing which product to use for which job — and how to remove them properly so you don’t trade one problem for another.
Why Damage-Free Hooks Fail (and How to Avoid It)
Most bad experiences with adhesive hooks come down to three mistakes: wrong surface, wrong weight, wrong technique. Fix those three things and the failure rate drops dramatically.
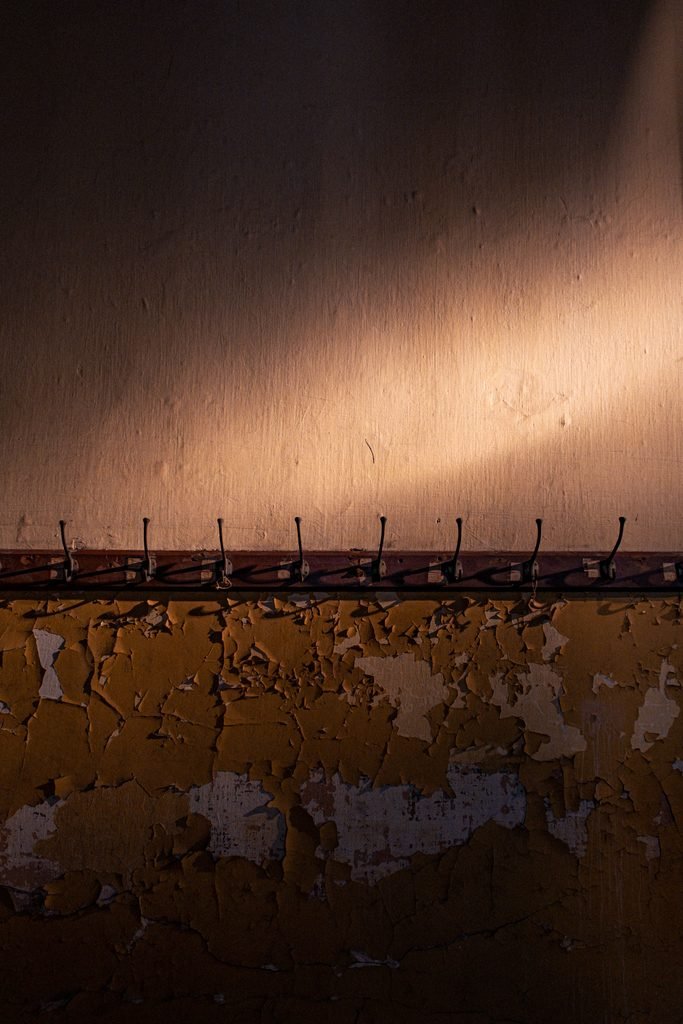
1. Surface matters more than the product Adhesive strips and hooks are designed for smooth, non-porous surfaces — think painted drywall, tile, or glass. They don’t hold well on:
- Textured or “orange peel” walls
- Wallpaper (the adhesive can pull the paper off, not just the hook)
- Brick, unfinished wood, or heavily textured plaster
Before committing to a wall full of frames, test one hook on an inconspicuous spot and leave it for 24 hours before hanging anything on it.
2. Weight ratings are conservative — but not a suggestion Every hook has a maximum weight listed on the packaging, usually per hook. That number already accounts for real-world use, so don’t try to stretch it. If a frame is borderline between two sizes, size up rather than down — the cost difference is usually a dollar or two, while a fallen frame can crack glass or damage flooring.
3. Application technique affects hold strength For most adhesive strips:
- Clean the wall first with rubbing alcohol to remove dust and oils — this alone fixes a huge share of “it fell off the wall” complaints
- Press firmly along the entire strip for the time stated on the packaging (often 30 seconds), not just a quick tap
- Wait the full curing time before hanging anything — usually one hour, sometimes longer for heavier-rated strips
Matching the Product to the Job
Not every wall project needs the same solution. Here’s a general breakdown of what tends to work well for different situations:
Lightweight items (photos, small art, calendars) Adhesive hooks rated for a few hundred grams are usually more than enough. These are the most forgiving to use and remove.
Medium items (mirrors, small shelves, string lights) Look for hooks specifically rated for the item’s actual weight, not just “medium duty” — check the packaging for a number in kilograms or pounds, and always weigh the item first if you’re unsure.
Heavier items (large mirrors, bigger frames) For anything heavier, consider leaning it against the wall on a piece of furniture instead of hanging it. It’s the safest option for both the item and the wall, and it’s a popular styling choice in its own right — leaned frames and mirrors are common in modern interior design, not just a compromise.
Curtains and window treatments Tension rods that wedge into the window frame avoid drilling entirely. For a slightly more finished look, some tension rod brackets use adhesive pads rather than pressure alone — useful for windows where a tension fit isn’t quite tight enough.
Feature walls and temporary color Removable wallpaper and wall decals let you add pattern or color without painting. Quality varies a lot between products, so it’s worth reading reviews specifically about how clean the removal is — that’s the detail that actually matters for a rental.
How to Remove Hooks Without Damaging Paint
This is the step people skip, and it’s the one that actually protects your deposit. Ripping a hook straight off the wall is what pulls paint with it — not the hook itself.
The correct removal method for most adhesive strips:
- Pull the tab slowly, straight down and parallel to the wall (not away from it) — this releases the adhesive gradually instead of yanking it
- If there’s no pull tab, warm the adhesive slightly with a hairdryer on low heat for 10–15 seconds, which softens the bond
- If any residue remains, most of it lifts off with a gentle rub of a soft eraser or a small amount of rubbing alcohol on a cloth — avoid scraping with anything sharp
Testing the removal method on a hidden spot first is worth the extra two minutes, especially with wall paint you’re not familiar with.
A Quick Room-by-Room Idea List
- Entryway: hook rack for keys, small mirror leaned or hung with a rated strip
- Bedroom: string lights along the headboard wall using adhesive clips, a leaned full-length mirror in the corner
- Living room: gallery wall using lightweight hooks, or a large piece leaned against the wall as a statement instead of hung
- Kitchen: adhesive hooks for towels or small utensils near the sink, keeping weight well under the rated limit
- Bathroom: adhesive-backed organizers for toiletries — check the packaging specifically for “bathroom safe” or “moisture resistant,” since standard adhesive doesn’t always hold up well in humidity
The Bottom Line
Decorating a rental without damaging the walls comes down to matching the right product to the right job, prepping the surface properly, and — just as importantly — removing everything the right way when you move out. Get those three things right, and there’s very little a rental agreement’s “no holes” clause will actually stop you from doing.